I’ll explain here how to gather your request emails in one place, on Outlook. It’s easy, quick and free! The rest is automatic.
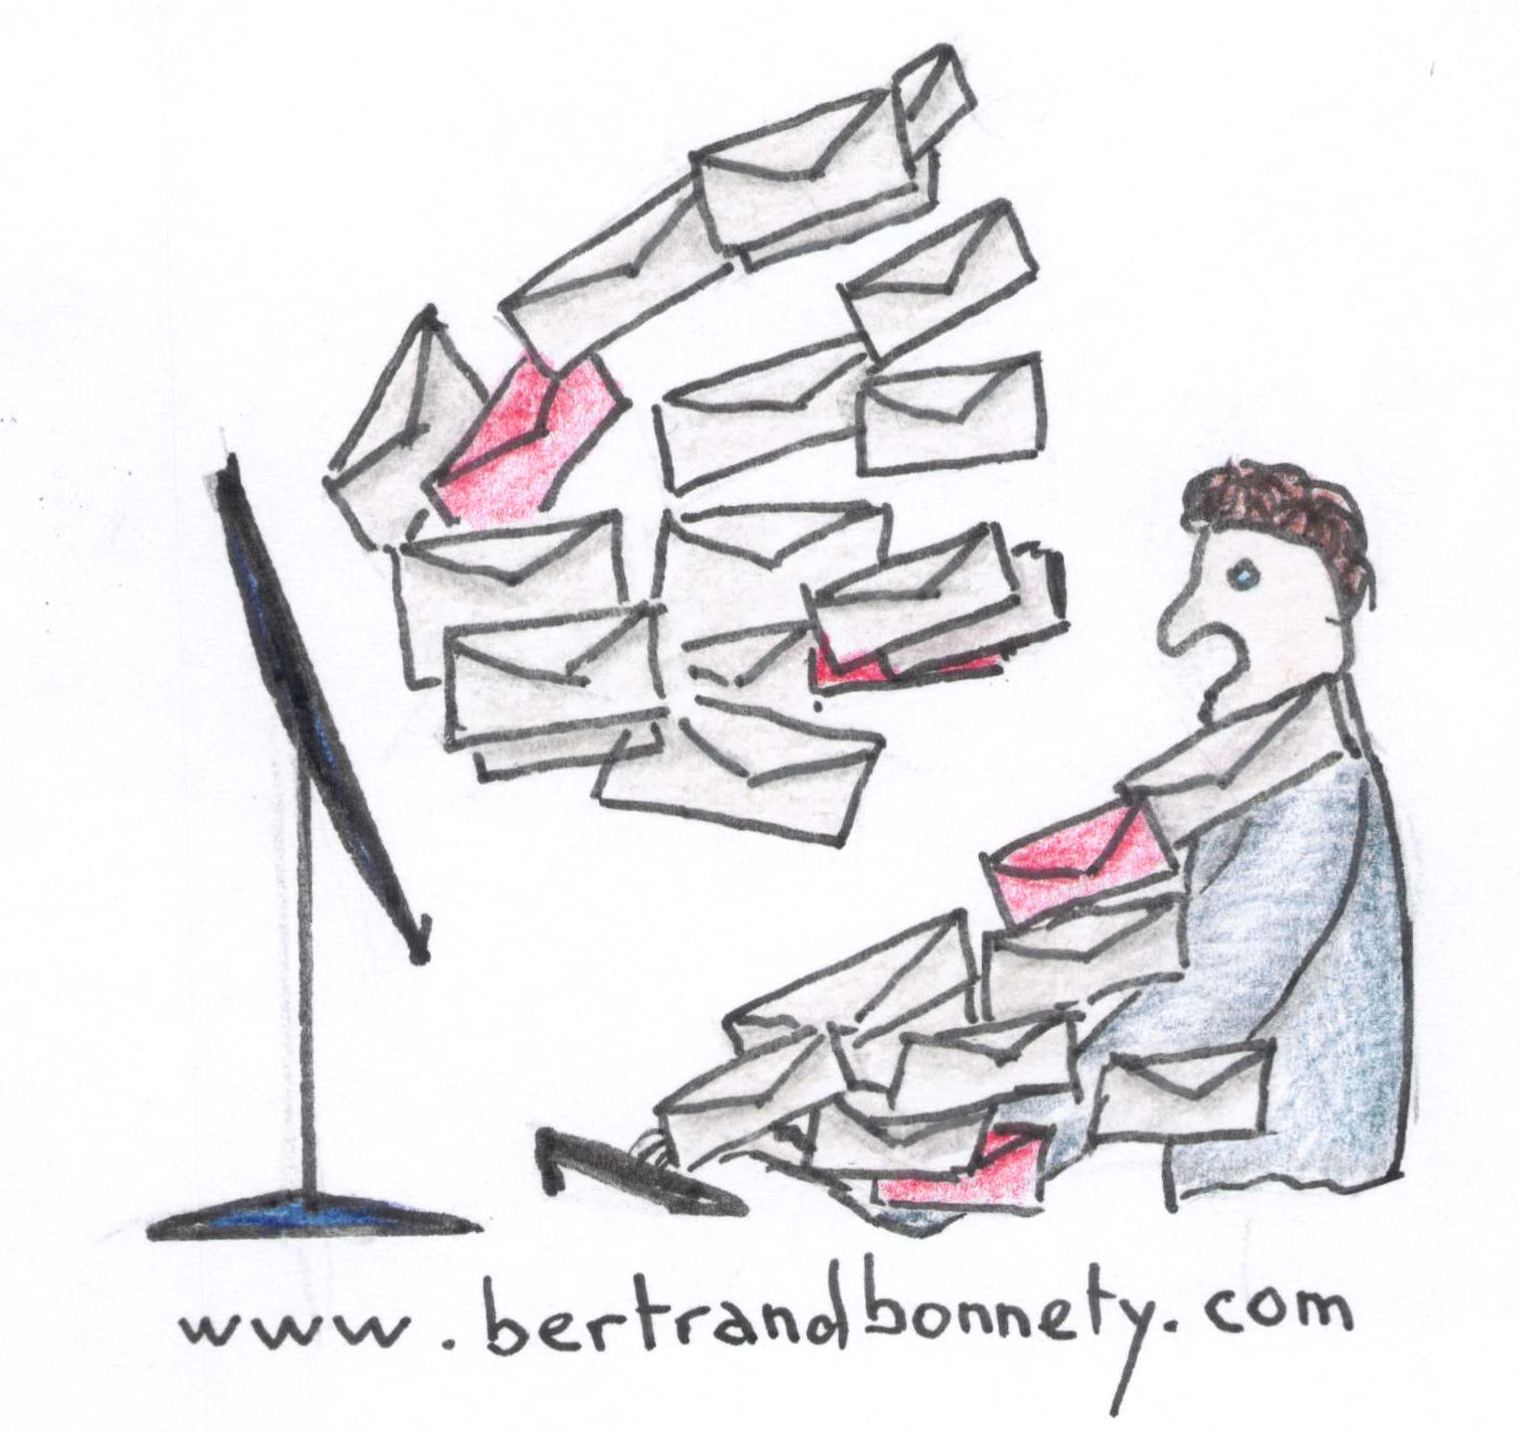
I’m often overloaded by many emails hitting my office inbox. I guess I’m not the only one. I also send numerous emails. Those sent emails create some tracking issues, in particular for the request emails, when you are waiting for some answers.
The Sent Emails
There are several categories of sent emails: for information, replying to someone and emails sent for action/answer. If you do nothing specific, all of them accumulate in your Sent folder and the important ones, the “for action” are lost in the middle of the others. Imagine the time you spend searching for them and tracking if your correspondents have answered.
How to gather your request emails?
I’ll explain here how to easily gather in one place the sent emails for which you are waiting for answers. I use this system for many years. I even don’t remember exactly if I discovered that alone or if I found it on the web or in some book. But for sure, the spirit of that is Getting Things Done best seller from David Allen. You’ll see that this methodology will appear in my blog more than once in the future.
On Outlook, follow those steps.
- Create a folder to gather your emails
Create a folder to gather your emails, under Inbox. I called it “_WF”. “_” is to have the folder on the top when folders are sorted alphabetically and “WF” for Waiting For. Of course you can give whatever name you want.
- Optional: create a Category
Optional: create a Category and give it a color. It’s not mandatory, but it gives some colors. On my Outlook I have a category called “WF” with a blue color. It’s not mandatory, but it’s more appealing. On my Outlook I have a category called “WF” with a blue color.
- Click on the Rules button
The Rules button is located on the ribbon under menu Home and the group More.

- Create an Outlook rule
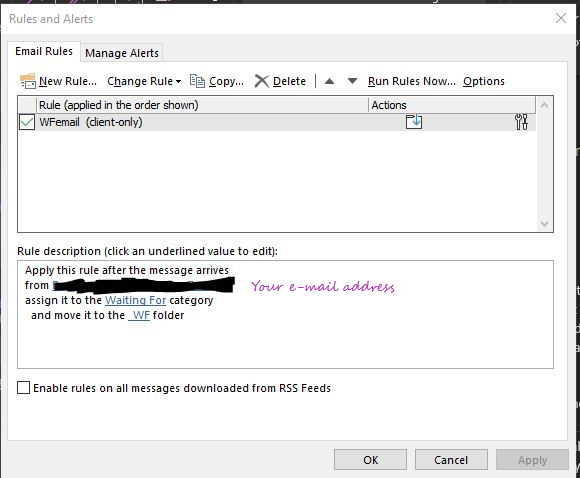
After clicking on the Rules button you can create a new rule. See the below snapshot for indication. This rule says that if Outlook receives an email from you, then it will move it to the “_WF” folder. If you use another name for your folder, don’t forget to replace “_WF” by your folder name. If you have created a category (optional ; go to step 2) the email will be assigned with this category too.
- To do when you send an request email
Now, each time you send a request email, just add your email address in the Bcc (“black carbon copy”: hidden recipient address).
As a result, all your request emails will be collected in a dedicated folder. Note that you will have two copies: one in your Sent folder and one in your “_WF” folder (or whatever other name you gave). From time to time, have a look at this “_WF” folder and check if your recipient has replied to it. If yes, I suggest deleting this email from the “_WF” folder. Don’t worry, the original one is in the Sent folder. This way you have only the request emails not answered yet. It’s easier for you.
What about you?
I hope this simple trick will help you. I’m using it quite everyday for many years already. Don’t hesitate to comment here below if something is not clear enough. I know that I did not give the full detail of each step. Based on your messages I can update this post.
Did you have another system in place?
And if you are using a different email software (Apple Mail, Lotus, Spark Mail, how are you following the request emails you sent?